
Assembling Brandcusi counters correctly is essential for creating a professional first impression at trade shows, shopping centre activations, and pop-up events across Australia. These lightweight promotional counters are engineered for quick, tool-free setup, but a clear process helps prevent damage and last-minute stress. This guide explains each stage of assembly, checks for safety and stability, and offers care tips so your display remains in top condition from event to event.
Understanding Brandcusi Counters
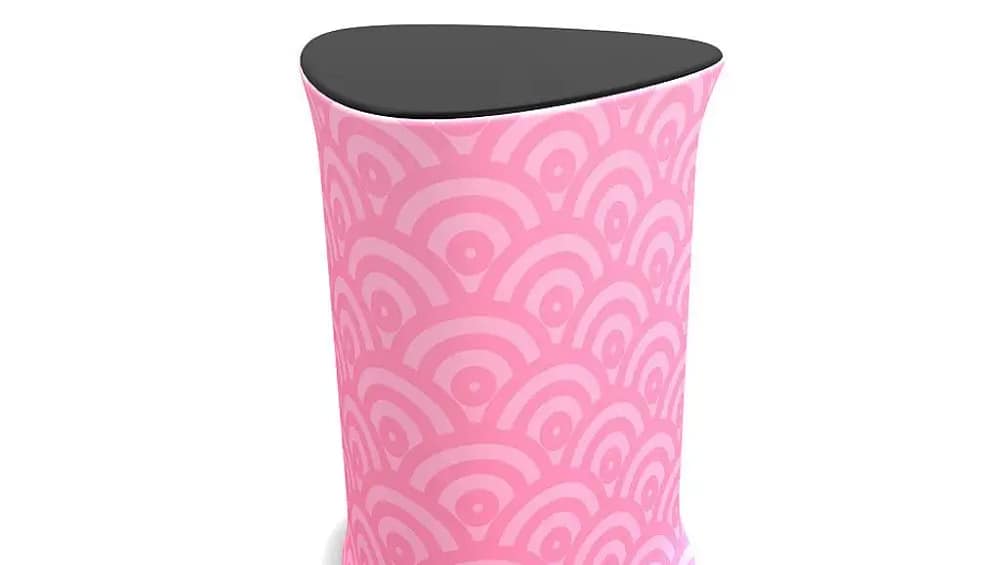
Brandcusi counters are portable branded counters made from a lightweight frame, a custom printed graphic wrap, and a durable countertop. Their compact carry bag design makes them ideal for exhibitors flying between Australian cities or moving between venues in a single day. As part of broader custom display counters, they provide a professional front-of-house point for greeting visitors, collecting leads, and showcasing collateral without needing tools or bulky cabinetry.
Preparing Your Space and Components
Before you assemble, choose a flat, clean surface to avoid scratching the countertop or soiling the graphics. Unpack all parts from the carry bag and lay them out so you can clearly see each frame section, connector, countertop, and graphic. This simple step helps prevent mixing pieces with other modular event counter systems you may own. Check the packing list supplied by your display provider so any missing or damaged parts are identified well before your event opens.

Step-by-Step Assembly Process
Begin by assembling the frame, following any numbering or colour labels on the poles. Connect each piece using the push-button or twist-and-lock connectors, ensuring every joint clicks firmly into place to support exhibition-grade counter hardware. Once the frame is secure, wrap the printed graphic around the structure and join the edges with the supplied Velcro, zips, or magnetic strips. Smooth out wrinkles so your branding looks crisp and aligned before placing the countertop on top and locking it with the provided clips.
Safety, Stability, and Practical Use
After assembly, gently push the counter from several angles to confirm it is stable and level. If you notice wobble, recheck each frame connection and confirm the top has fully engaged with its locking points. These units are designed for brochures, tablets, and light product samples, so avoid placing heavy equipment on them. When used as trade show reception furniture or branded retail demo stations, always keep cables, bags, and extra stock away from the base to reduce trip hazards.
Packing Down and Ongoing Care
To disassemble, remove the countertop first, then carefully detach the graphic and fold down the frame in reverse order of assembly. Roll the graphic loosely with the print facing out to reduce creasing and store it in a protective sleeve or tube. Wipe down the frame and benchtop with a soft cloth to remove dust, especially after outdoor use. Well-maintained Brandcusi® Counters can form the core of your professional event counter solutions for years, supporting retail showcase solutions and portable product sampling desks across multiple campaigns.
If you are planning a new display kit or upgrading high-quality counter designs for upcoming exhibitions, take the time to practise assembly before event day and note any questions. Speaking with a display specialist can help you choose the right configurations, understand weight limits, and coordinate graphics with the rest of your stand. Use this guide as your reference each time you set up so your counters look consistent, safe, and professional at every appearance.


