
How to Assemble WaveLine® InfoDesks: A Step-by-Step Guide
WaveLine® InfoDesks are a practical choice for Australian exhibitors who need portable exhibition counters that are quick to assemble, pack down and transport between events. Understanding how they go together not only saves time on site, but also protects your investment in the frame and custom printed counter graphics. This guide walks you through the full process, from unpacking components to final checks, so your counter looks professional at every show.
Understanding WaveLine® InfoDesks
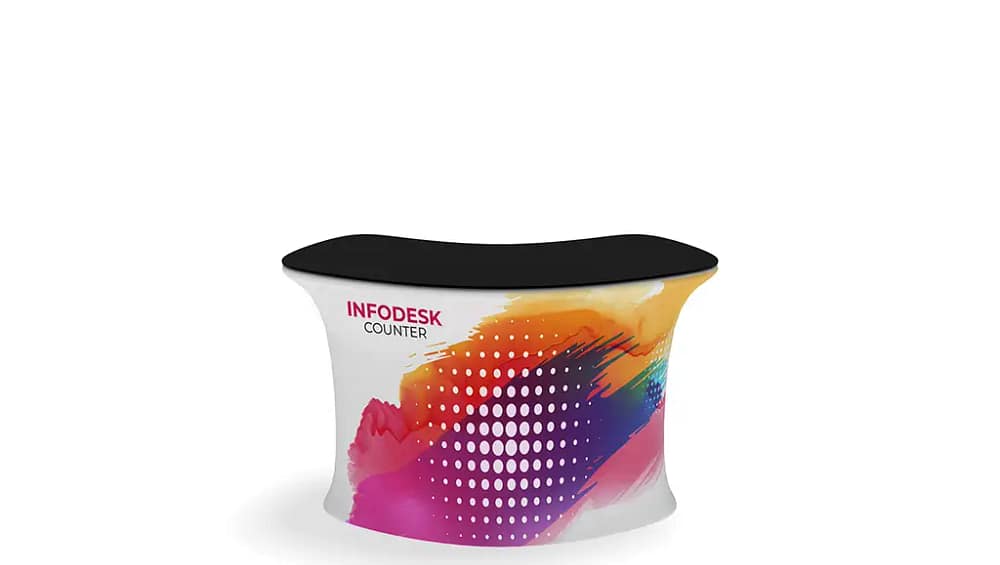
WaveLine® InfoDesks are lightweight branded counters built from an aluminium frame, a rigid tabletop and a tension fabric or PVC graphic wrap that secures with Velcro or magnetic strips. They are designed to be part of modern tension fabric display counters and work well alongside backdrops, flags and pull-up banners. Because they are reusable event furniture, they suit repeat exhibitors travelling between Sydney, Melbourne, Brisbane and regional venues.

Preparing for Assembly
Before starting assembly of your WaveLine® InfoDesks, clear a flat, clean space so components do not pick up dust or scratches. Lay out the frame sections, support feet, tabletop, connectors and graphic wrap, checking them against the packing list. Many frames are labelled with letters or numbers, which is helpful when you are managing multiple modular trade show counters at once. Having a second person on hand can make the process safer and quicker.
Step-by-Step Assembly Process
Begin by arranging the frame pieces on the floor in the approximate shape of the counter, grouping matching labels together. Connect the segments using the push-button or twist-and-click fittings, ensuring each joint locks fully so the structure is rigid. Next, attach the support feet or base plates and confirm the counter feels stable, particularly if you plan to use it as one of your main trade show information kiosks. Place the tabletop on the frame and secure it with the supplied brackets, pins or screws.
Once the structure is solid, wrap the graphic panel around the frame, starting from one rear corner and working around evenly. Fasten the Velcro or magnetic edges gradually, maintaining gentle tension so the surface remains smooth. Check that the join or seam sits neatly at the back, not the front where it will be visible to visitors. This method also suits portable sampling stations and branded reception podiums that rely on clean, uninterrupted graphics.
Safety, Care and Common Mistakes
Never force components together; if a part does not align, double-check its orientation and label before trying again. Avoid dragging assembled counters across the floor, as this can damage both the support feet and venue surfaces. When packing down, roll the graphic wrap instead of folding it, which helps prevent deep creases that may show on your custom display solutions. A frequent mistake is attaching the graphic before the frame is fully locked, leading to sagging or misalignment.
When to Seek Expert Help
If your WaveLine® InfoDesks form part of a larger stand with multiple portable exhibition counters or compact shipping counter systems, ask your supplier for a demonstration or detailed setup video. Professional installers can help when timelines are tight, or when you are integrating counters with lighting, shelving or AV. Understanding the assembly steps in advance means your team can focus on greeting visitors rather than troubleshooting hardware on site.
To learn more about configuring WaveLine® InfoDesks for your next Australian exhibition, and to get guidance on the best mix of lightweight branded counters for your stand, speak with a display specialist who can walk you through layout options, accessories and long-term care so you set up with confidence at every event.


