
How to Assemble WaveLine® Counters: A Step-by-Step Guide
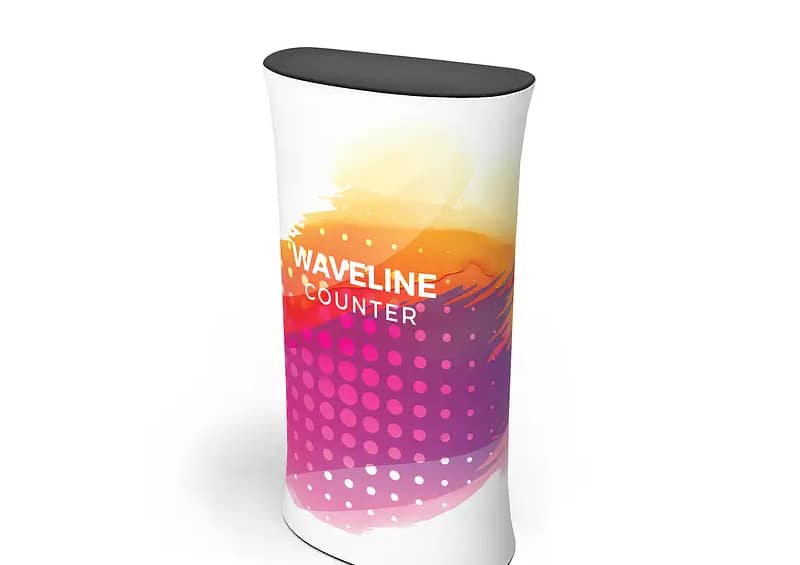
WaveLine® Counters are a popular choice for Australian brands needing practical, professional portable exhibition solutions. Designed with an aluminium tube frame, tension fabric graphic and durable countertop, they create a tidy, approachable reception point at events. Understanding the correct assembly process helps you set up quickly, reduce damage during handling and maintain a consistent brand presentation from one venue to the next.
Understanding WaveLine® Counters
These tension fabric display counters are engineered as lightweight display furniture that can be transported in a compact carry bag. The frame connects using push-fit or spring-button joints, so you can assemble and dismantle them without specialised skills. Many models offer options such as internal shelves, curved or straight profiles, and a choice of finishes to suit custom display counters and brand guidelines. Because the graphics are interchangeable, the same unit can support multiple campaigns.
What Comes in the Box
When you unpack your WaveLine® Counter, you should find numbered frame sections, base or feet components, an internal shelf if specified, the printed fabric graphic and the laminated countertop. Retain the supplied bag and foam inserts, as they are designed for reusable event display systems and protect the hardware in transit. Set up on a clean, flat surface to avoid scratching the top or marking the fabric. Wearing light gloves can help keep the graphic free of fingerprints and smudges.

Step-by-Step Assembly Process
Begin by laying out the numbered aluminium tubes and matching each pair according to the diagram provided. Click the joints together firmly until you hear or feel them lock, creating the full counter frame and any stabilising feet. If your unit includes a shelf, attach it to the internal brackets before adding the fabric. Next, turn the frame upright and carefully pull the graphic over from top to bottom, aligning seams with the frame edges and closing any zip at the base.
Fitting the Countertop and Checking Stability
Once the fabric is smooth and tensioned, position the countertop so its locating pegs or brackets sit directly over the frame uprights. Press down gently until it sits level and secure with no rocking or gaps. Before placing brochures, tablets or trade show accessories on the surface, check every joint for a positive lock and confirm the unit does not wobble. Correct assembly ensures your branded portable counters look professional and feel stable when customers lean or write on them.
For day-to-day care, spot-clean marks using mild soap and cold water, avoiding bleach or harsh solvents that may fade the print. Allow the graphic to air-dry completely before packing away, and never machine-dry the fabric. If the counter appears uneven or the print looks skewed, common causes include a missing frame section, the graphic installed backwards or the base zip not fully closed. These counters work effectively as modular trade show counters, portable branded sampling stations or custom trade show reception desks when maintained correctly.
Many businesses pair these tool-free exhibition counters with compatible banners, backwalls and other tension fabric display counters to create cohesive display zones. If you are deciding between different portable exhibition solutions, consider your floor space, storage capacity, frequency of travel and the need to refresh campaigns with new graphics. To learn more about configuration options and how to integrate WaveLine® Counters into your wider event strategy, speak with an exhibition specialist who can recommend the most suitable setup for your next activation.


