
How to Assemble WaveLight® Casonara Counters: A Step-by-Step Guide
How WaveLight® Casonara Counters Work
WaveLight® Casonara Counters are backlit exhibition counters designed to create a bright, professional focal point at trade shows, shopping centres and brand activations around Australia. Each unit combines a lightweight aluminium frame, LED lighting and a tension fabric graphic to form a stable, illuminated structure. The result is a welcoming surface for product display, registrations or information, especially when used alongside high-quality exhibition stands. Before assembly, clear a clean area so you can unpack and check every component against your supplied parts list.
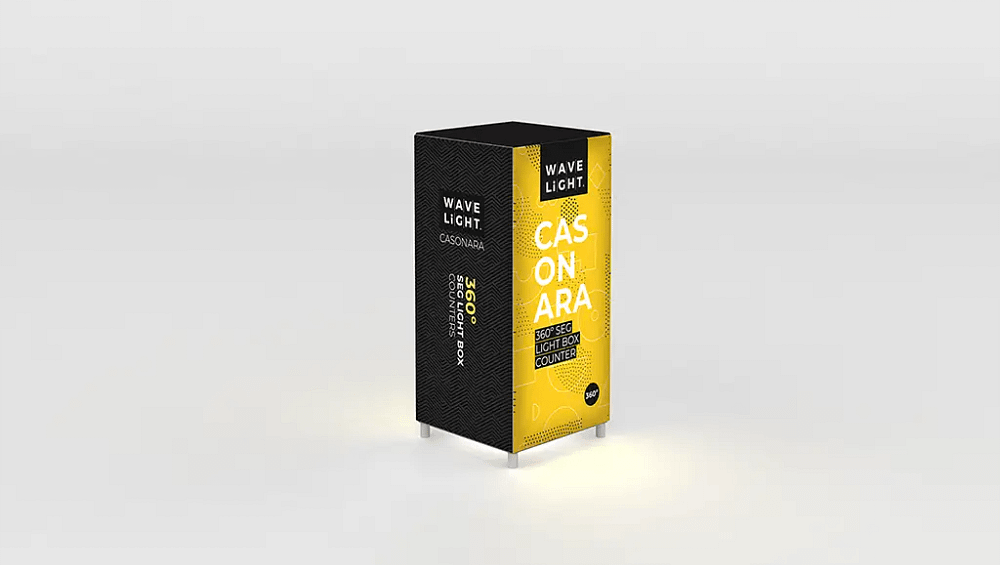
Key Components of Your WaveLight® Casonara Counters Kit
A typical kit includes an aluminium frame, base and countertop panels, internal support bars, LED light arrays, power packs and a printed fabric graphic. Some models may also feature internal shelves for brochures, stock or personal items. Many systems are engineered as tool-free trade show counters, using push-fit or twist-lock connections for fast installation. The fabric graphic is usually a snug fit, so do not worry if it looks slightly small when laid flat. This tension helps create smooth, professional illuminated display counters with minimal wrinkling.

Step-by-Step Frame and Lighting Assembly
Begin by laying out all frame pieces on a flat surface, grouping them by length or number. Assemble the base rectangle first, ensuring each connection clicks or locks firmly into place so the structure remains stable. Add the vertical uprights, followed by the top frame, double-checking that corners are square and secure. Once the frame is complete, attach the LED light strips or panels according to the manufacturer’s markings. Keep cables neat and directed towards the power supply, especially if you plan to use the counter among portable LED exhibition counters.
Fitting the Fabric Graphic and Countertop
With the frame upright, carefully slide, zip or wrap the fabric graphic over the structure, aligning any seams with frame edges. Work gradually from one side to the other to avoid twisting or overstretching the material. When using SEG fabric lightbox counters, press the silicone edging firmly into the frame channel, checking that corners sit cleanly. Next, place the countertop on top, locating any pins, brackets or magnets and pressing down until it feels solid. This creates a safe surface suitable for branded glowing welcome desks or simple information points.
To disassemble, reverse the steps by removing the countertop, fabric and frame components in sequence, taking care not to snag the print. Fold the graphic loosely with the print side inward to reduce creases and protect the imagery during transport. Wipe down frames, panels and cables so dust does not build up between events, particularly when the counters form part of reusable illuminated promo furniture. Store small fixings and power packs in labelled bags within the supplied case. This approach supports reliable use across multiple events, from custom retail displays to backlit trade show counters, and helps you set up premium lightbox reception desks or modular illuminated event furniture quickly and confidently at your next activation.
If you would like more guidance on choosing and configuring illuminated display counters for your next event, contact our team to discuss the most suitable options and assembly methods for your space and brand objectives.


