
How to Assemble WaveLight® Air Wall Lightboxes for Events
Correctly assembling WaveLight® Air Wall Lightboxes ensures your event signage looks professional, reliable, and visually striking. This guide explains the components, set-up process, and care steps so you can confidently install a portable illuminated wall system at exhibitions, conferences, and roadshows across Australia.
Understanding Your WaveLight® Air Wall Lightbox
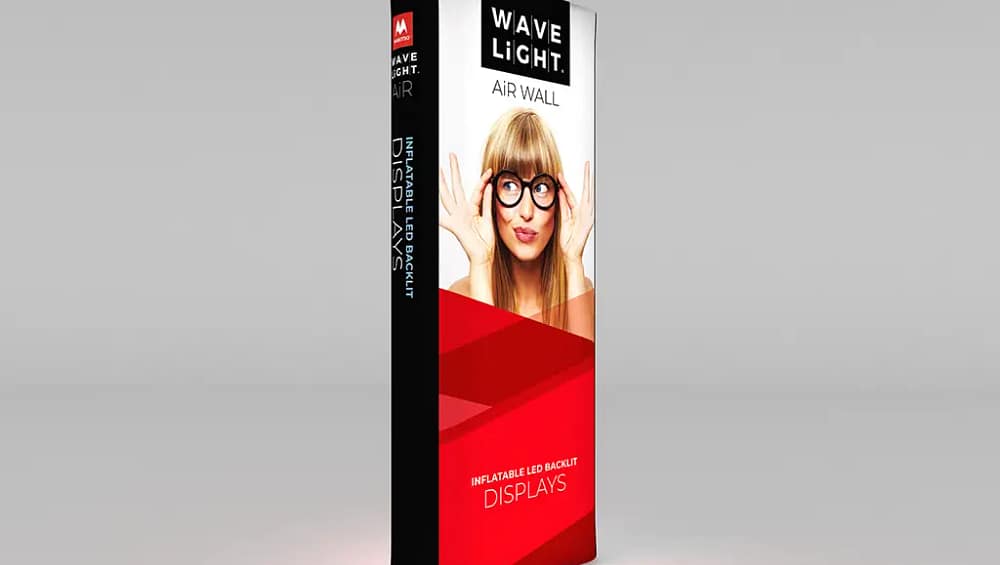
Each WaveLight® Air Wall Lightbox is designed as a lightweight event display system that combines structure, lighting, and graphics in one unit. Typical components include an inflatable frame, integrated LED lighting, power cables, and a printed tension fabric graphic. Some packages also supply an electric pump and carry case for easier transport. Familiarising yourself with these parts before you arrive on site will help avoid delays and reduce the risk of incorrect assembly.
Preparing for Assembly
Before inflating your WaveLight® Air Wall Lightbox, select a clean, level surface free from sharp objects or rough edges. Unpack the frame and lay it flat, then confirm all parts are present, including LEDs, power supply, and the zipped or sleeved fabric graphic. Inspect the surface for punctures or loose wiring, and keep the manufacturer’s instructions handy. Careful preparation is particularly important when setting up multiple illuminated fabric displays in a tight event schedule.

Step-by-Step Assembly Process
Begin by attaching the pump firmly to the air valve, ensuring the seal is secure, then switch the pump on and inflate the frame until it is firm yet not over-pressurised. Close the valve and check that the structure stands straight without sagging. Next, locate the mounting points and fit the LED strips or bars, routing cables neatly towards the power input. Finally, stretch the graphic over the frame, aligning seams and corners, smoothing out wrinkles for a crisp, custom branded light wall.
Power, Testing, and Event-Day Safety
Connect the LED system to a tested power board that complies with local venue requirements and switch the unit on to check brightness and even coverage. If you notice shadows or dark spots, adjust the LED strips or check connectors for looseness. Position the lightbox so it does not block exits or walkways and tape cables to the floor to prevent trips. For outdoor use or busy aisles, add weights or tethers, especially when using inflatable backlit displays as a trade show lighting backdrop.
At the end of the event, power down the unit before unplugging cables, then gently remove the graphic to avoid overstretching seams. Open the air valve and allow the frame to deflate fully before rolling it loosely rather than folding sharply. Coil leads carefully, keeping power supplies and reusable LED display frames together in protective bags or the supplied case. With this tool-free inflatable lightbox, proper packing and care will extend its life, providing cost-effective custom wall light solutions for future promotions and portable advertising lightboxes at events. For personalised guidance on SEG fabric light walls or choosing the right portable illuminated wall system, consider speaking with a display specialist to plan your next exhibition with confidence.


