
How to Assemble WaveLight® Casonara Lightboxes: A Step-by-Step Guide
Understanding WaveLight® Casonara Lightboxes
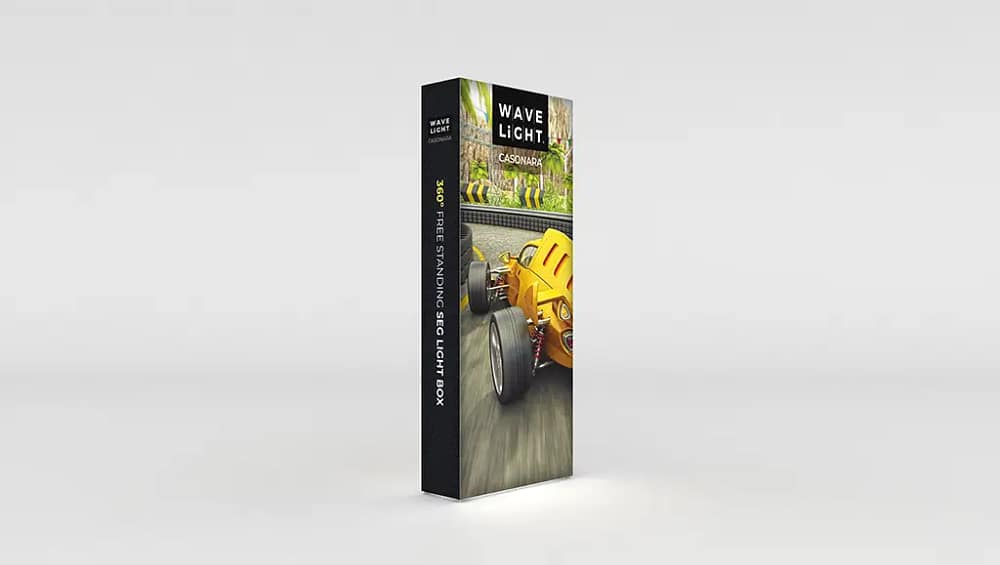
WaveLight® Casonara Lightboxes are premium illuminated display solutions designed for exhibitions, retail environments, and corporate events across Australia. These systems use silicone-edge graphics (SEG) and integrated LEDs to create bright, seamless visuals that stand out on busy show floors. Because they are engineered as modular fabric lightbox systems, they can be configured as single features or full SEG backlit graphic walls. Understanding how the frame, lighting, and fabric interact will help you achieve a professional, consistent finish every time.
Preparing for Assembly
Before assembling your WaveLight® Casonara Lightboxes, unpack all components and check them against the packing list. You should have aluminium frame sections, corner connectors, LED arrays, power supplies, base feet if specified, and the printed SEG fabric. Set up on a clean, flat surface to avoid marking the fabric, which is especially important in dusty showgrounds. Allow the fabric to acclimatise so any fold lines soften, which helps the graphic sit taut once installed. This step is crucial in varying Australian climate conditions, from humid coastal venues to cooler indoor arenas.

Step-by-Step Assembly Process
Lay the labelled frame pieces on the floor and match the ends, such as A to A and B to B, before you start connecting anything. Join the aluminium sections by pushing or snapping them together until they lock, taking care not to force misaligned parts. Install the LED strips or bars into the internal channels, following the manufacturer’s diagram for correct spacing and cabling. Connect the power leads and briefly test the lighting so you can fix any issues before the graphic is fitted. This method also suits tool-free exhibition lightboxes used for fast trade show builds.
Fitting the SEG Graphic Correctly
Begin fitting the SEG fabric by inserting each corner into the frame channel, which helps maintain even tension on all sides. Once the corners are secure, work along the edges, pressing the silicone beading into the groove with your thumbs rather than tools. The graphic should appear smooth and wrinkle-free; gently push any remaining creases towards the edges until the surface looks uniform. Well-fitted graphics are essential for premium illuminated trade show displays, where lighting can emphasise even minor imperfections. If needed, briefly switch on the LEDs to check for shadows or light hotspots.
For Australian marketers investing in portable advertising displays, correct fabric handling significantly extends graphic life. Always avoid overstretching corners, twisting the bead, or pulling sharply at the edges when repositioning, as this can weaken the stitching. When your event schedule includes multiple shows, reusable illuminated booth hardware allows you to refresh graphics while retaining the same frame and lighting kit. This approach is particularly useful for double-sided retail lightbox displays in shopping centres, where campaigns update regularly. Careful assembly habits reduce replacement costs and keep branding consistent across locations.
Safety, Stability, and Event Compliance
Ensure all base feet and stabilisers are firmly attached, particularly for taller WaveLight® Casonara Lightboxes used in busy exhibition aisles. Position power leads so they are not trip hazards and confirm the total electrical load meets venue regulations before switch-on. Many exhibitors also choose energy-efficient branded light walls to satisfy venue sustainability expectations and reduce long-term running costs. In Australian venues, safety officers may inspect cable management and structural stability, so keep documentation and instructions accessible. Avoid using damaged leads or operating the unit with exposed cabling, as this can breach event safety policies.
Disassembly, Storage, and Reuse
After your event, power off and unplug the lightbox before touching any components. Gently peel the SEG graphic from one corner and roll it loosely, printed side out, to minimise creasing and ink rub. Detach LED elements and frame sections in reverse order of assembly, placing small parts in labelled bags for quick identification next time. Store everything in the supplied case or padded bags, keeping the kit dry and away from direct heat sources. Good storage practices make it easier to repurpose the same system as portable LED booth backdrops or custom lightbox designs at future events.
For Australian businesses comparing illuminated options, WaveLight® Casonara Lightboxes sit alongside other SEG backlit solutions and modular systems. Consider how often you exhibit, the size of your stand, and whether you need configurations that can scale into larger SEG backlit graphic walls. If you are unsure which layout, height, or brightness level suits your stand, it can be helpful to speak with a specialist who understands local venue rules. An expert can also advise on integrating lightboxes with existing furniture or media displays. To deepen your understanding of assembly, layout planning, and graphic selection, request a detailed product briefing and ask specific questions about your next event requirements.
Educational Call to Action: If you are planning your next exhibition or retail activation, take a moment to map out how WaveLight® Casonara Lightboxes will fit into your overall stand strategy. List your stand size, power access, and branding priorities, then speak with a display expert to review suitable configurations, safety considerations, and graphic options. By clarifying these details early, you will be better equipped to choose the right illuminated display solutions, avoid common setup issues, and create a more effective visual presence at every event.


