
WaveLight Tension Fabric Banner Assembly Guide for Australian Exhibitors
Assembling a WaveLight tension fabric banner frame is a straightforward process when you understand each step and prepare your workspace properly. This guide explains how to unpack, assemble, and adjust your display so it looks professional at trade shows, retail spaces, and corporate events across Australia. By following a clear process, you can enjoy tool-free banner assembly that saves time on site and reduces stress just before doors open. You will also gain confidence in handling custom fabric displays without needing specialist installers. With a little practice, set-up and pack-down become quicker, safer, and more consistent.
Understanding WaveLight tension fabric banner frames
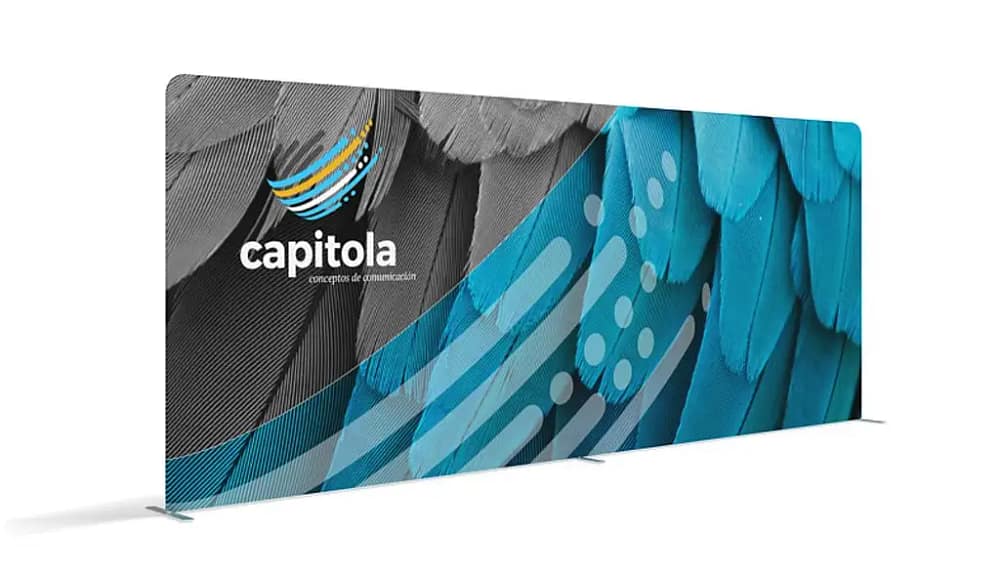
A WaveLight tension fabric banner frame is a lightweight structure designed to hold printed fabric graphics under tension for a smooth, high-impact finish. These systems typically use an aluminium tube display frame that clicks together with push pins or a similar mechanism. The printed sleeve slides over the frame like a pillowcase, creating a clean, modern look that suits most Australian exhibition venues. Because the graphics can be removed and replaced, many businesses use them as a reusable trade show backdrop for multiple events. When cared for correctly, they offer an economical and visually strong option.
Step-by-step WaveLight assembly process
Begin by unpacking your kit and laying out every piece on a clean, flat surface, checking against the manufacturer’s parts list. Group the frame pieces by size or printed labels so you can see the structure clearly before you start connecting anything. Most WaveLight frames use numbered or lettered joints, making it easier to build portable display systems without guessing which part goes where. Once you recognise the pattern, slotting the tubes together becomes almost intuitive. Taking a few minutes to organise parts at the start usually prevents mistakes and rework later in the process.

Securing the frame, base, and fabric graphic
Once the frame is assembled on the floor, attach the stabilising feet or base plates firmly, ensuring every fixing is fully engaged before standing it upright. This step is vital for safe tension banner solutions, especially in busy event spaces with high foot traffic. Next, position the printed sleeve with the top edge aligned to the top bar of the frame so text and logos are the right way up. Carefully slide the fabric over the frame, easing it around corners to protect the seams. Many modern sleeves use wrinkle-resistant fabric graphics, but smoothing the surface as you go still improves the final result.
Final checks, care, and helpful resources
After the graphic is fully zipped or closed, check that the fabric is evenly tensioned and that the frame sits level on the floor. If one corner appears slack, gently adjust the base plates or reposition the feet until the banner looks balanced. For more complex shapes such as curved tension fabric walls or larger lightweight fabric banner stands, it can help to have two people assemble the frame. When the event ends, reverse the steps carefully and store the components in their supplied bag to extend their lifespan. For an overview of common exhibition hardware types, you may find the guidance from independent exhibition stand resources useful.
If you are comparing different portable tension fabric display options, consider how often you travel, the vehicle space you have, and whether modular portable display kits would offer long-term flexibility. Many Australian businesses choose systems that break down into compact bags, making them easier for staff to transport to regional events. Others prioritise a seamless, illuminated finish that works as a hero backdrop in capital-city venues. Whatever your priorities, understanding how assembly works will influence your purchasing decision as much as the artwork itself. To explore locally produced custom fabric displays that match these assembly principles, you can review the range of tension banner solutions available from specialist Australian suppliers. Finally, if you are unsure about any step, contact the manufacturer’s support team for clarification before your next event.


