
How to Assemble WaveLight LED Lightboxes for Trade Shows in Australia
Understanding WaveLight LED Lightboxes
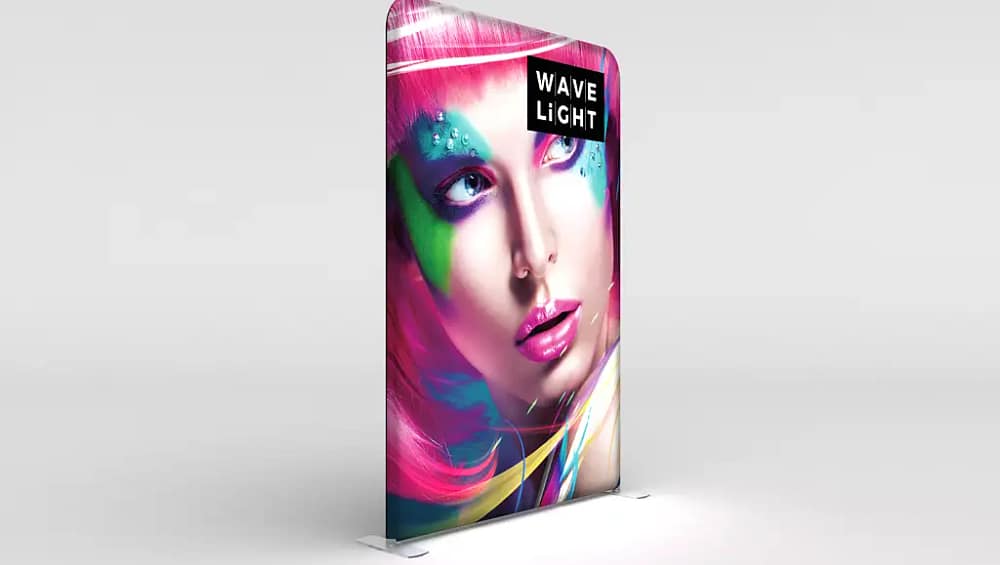
WaveLight LED Lightboxes are a popular choice for Australian exhibitors who need bright, reliable illuminated display solutions for busy trade show environments. These systems combine slim premium aluminium lightbox frames with internal LED modules and tensioned fabric graphics to create a professional, backlit finish. Because they pack down into compact cases, they are well suited to events in cities such as Sydney, Melbourne, Brisbane and beyond. When properly assembled, they function as reusable exhibition lightboxes that can be re-skinned for different campaigns. Many marketing teams also pair them with portable LED display stands to create cohesive brand zones at expos. Understanding each component before you start assembly greatly reduces setup time on site.
Preparing Your Space and Components
Before assembling a WaveLight LED Lightbox, clear a generous, clean floor area so you can lay out every part without risking damage. Carefully unpack the aluminium frame sections, LED strips or light bars, power packs, clips and fabric SEG lightbox graphics or pillowcase sleeves. Check all components against the supplied packing list to confirm nothing has gone missing in transit. Inspect the frame for bends, dents or misaligned connectors, and check cables and plugs for visible wear. If you notice issues, contact your supplier before continuing, rather than forcing parts together. Many Australian exhibitors keep a small kit with a power board, gaffer tape and a microfibre cloth ready for each build. Taking ten minutes to prepare properly will usually save you far more time on the show floor.

Step-by-Step Assembly of the Frame and Lighting
Begin assembly by arranging the aluminium sections on the floor in their approximate positions, using the numbered or colour-coded stickers to match corners and sides. Connect each piece according to the manufacturer’s diagram, ensuring every push-button or locking pin clicks firmly into place for a square, rigid structure. If your model is part of modular LED lightbox systems, confirm that any joining feet or stabilising bases are correctly installed. Once the frame is secure, position the LED strips or bars inside the channels, following the arrows or labels that show orientation. Keep cables running neatly along the frame to prevent pinching when you add the graphic. At this stage, connect the internal wiring to the power pack but do not plug into mains power yet. If you need technical background on LED efficiency, the Australian Government’s Energy Rating site at https://www.energyrating.gov.au provides clear, independent information.
Fitting Fabric Graphics and Testing Illumination
With the frame and lights in place, you can install the printed fabric, which may be a pillowcase sleeve or silicone-edge style depending on your chosen custom lightbox designs. For pillowcase graphics, gently pull the fabric over the structure, align the seams with the frame edges and zip it closed at the base to create even tension. For SEG versions, start by pressing the silicone beading into each corner, then work along the edges, avoiding overstretching one side at a time. Once the graphic is smooth, connect the power pack to a tested power board that complies with Australian standards and switch on. Look for consistent brightness with no dark patches, flickering or colour shifts that would undermine your backlit trade show displays. If problems appear, re-check each plug and light bar to ensure they are fully seated and not obstructed.
When planning portable advertising signs for multiple events, it is worth considering how your WaveLight units will pack down and travel between venues. Always disconnect from power before disassembly, then carefully remove the fabric graphic, avoiding contact with dirty floors or sharp edges. Fold or roll the material with the print facing outwards, which helps minimise deep creases and protects the visible side during transport. Allow any moisture or dust to be wiped off with a clean microfibre cloth before placing the fabric into its bag. Frame sections and LED components should be returned to their designated foam inserts or padded compartments, which helps your energy efficient lightbox signage last through many exhibition cycles. For further ideas on how these systems integrate into broader visual marketing, you can explore illuminated display solutions on the Just Banners website. A well-maintained WaveLight LED Lightbox will continue to deliver crisp, eye-catching brand visibility, making it easier for your team to build custom illuminated booth backdrops and stand out at Australian trade shows year after year.


