
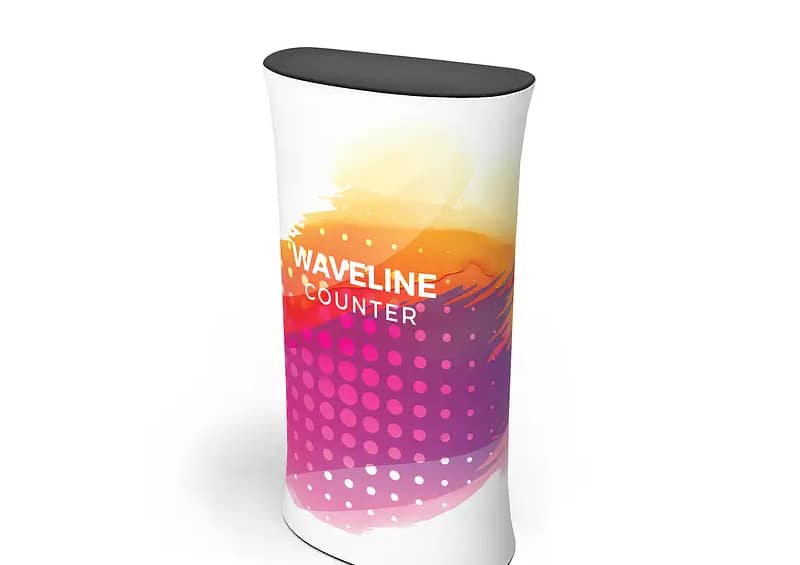
Understanding the assembly process of WaveLine® Counters is increasingly important for Australian marketers under pressure to set up fast, look polished and keep freight costs down. These tension fabric counters are designed for quick bump-in at venues from ICC Sydney to Brisbane Convention & Exhibition Centre, but only deliver their full value when teams know how to assemble, pack and maintain them correctly.
7 Steps to Mastering the Assembly Process of WaveLine® Counters
For brands investing in portable exhibition solutions, mastering the build sequence reduces stress, minimises damage and protects your print investment. The following seven steps outline how to assemble, check and use your counter so it behaves like permanent joinery, while still packing down into a compact carry case. Each step is based on common on-site challenges faced by Australian exhibitors and helps marketing teams brief contractors, casual staff or interstate sales reps with confidence.
1. Unpack and Check All Components
Start by clearing a clean, flat space away from vehicle traffic and loading docks, then open the carry case. Confirm you have the aluminium tube frame, fabric graphic, countertop, base plate and any shelves or trade show accessories specified in your order. Cross-check against the instruction sheet before you rush into assembly. Missing screws or mislabelled tubes are a frequent cause of delay during tight bump-in windows, particularly when venue labour charges are running by the hour.

2. Lay Out and Identify the Frame Pieces
WaveLine® Counters typically use numbered or colour-coded aluminium tubes that snap together into a rigid skeleton. Lay the tubes roughly in the footprint of the final unit so you can visually check for anything missing or bent. This small step stops crew from forcing incorrect pieces together, which can damage push-button locks. It also makes it easier to scale up to multiple custom display counters across a larger stand without losing parts between cases.
3. Connect the Frame Using Push-Button Snaps
Begin with the base section and work methodically upwards, clicking each tube into place until you feel or hear a positive lock. If a joint resists, stop and re-check the markings rather than using extra force that could deform the connector. A correctly assembled frame should feel square and stable with no visible twists. This rigidity is vital for lightweight trade show counters, which rely on the internal structure to keep graphics smooth and countertops steady under constant use.
4. Slide On and Tension the Fabric Graphic
Once the frame is standing, carefully slide the printed sleeve over from the top or side, taking care not to drag it on the floor. Align seams with the frame edges and gently smooth out wrinkles as you go. Tension fabric counters are designed to sit snug; if the print sags or spirals, the frame may be misaligned and should be adjusted before the show opens. Well-tensioned graphics help portable branded counters look more like built cabinetry than temporary structures.
- Keep a small toolkit and spare push-button pins in your case for emergency fixes.
- Train at least two team members so set-up knowledge is never held by one person.
- Label carry cases by counter style to streamline multi-show logistics.
- Photograph each assembled stage to create a quick visual guide for new staff.
- Schedule a test build in your office before any major trade show rollout.
With the structure and fabric in place, position the countertop so it locates cleanly onto the frame’s fixing points, using brackets, screws or locating pegs as supplied. Test the surface with laptops, product samples or event sampling counters equipment to confirm it doesn’t flex or rock under load. At this stage you can add internal shelves for literature or giveaways and plan cable runs for tablets or portable trade show furniture such as demo screens. A final walk-around check from the visitor’s perspective ensures branding reads level and every connector is properly engaged. For exhibitors comparing modular display counters, branded reception desks or broader exhibition counter solutions, speaking with an Australian specialist in WaveLine® Counters can help you match the right kit to your calendar of shows and streamline bump-in and bump-out for the long term.


