
How to Assemble Infinity DNA™ Pro Banners: A Step-by-Step Guide
Infinity DNA™ Pro Banners are designed as lightweight portable display banners that offer a professional, streamlined appearance for trade shows, retail environments, and corporate events. These systems are part of a broader family of modular fabric display systems, allowing marketers and exhibitors to create cohesive branded environments. Each banner typically consists of an aluminum tube frame, steel base plates, internal connectors, and a tension fabric graphic engineered to fit tightly over the structure. Because these systems are tool-free and intuitive, most users can complete assembly in around 10–20 minutes, even if they are new to trade show promotional displays. Understanding how each component works together is essential to preserving the lifespan of your hardware and maintaining the crisp appearance of your graphics. When correctly assembled, Infinity DNA™ Pro Banners deliver high-quality promotional displays that stand out in busy venues. The following guide provides a detailed, step-by-step process for unpacking, assembling, and maintaining your banner system. Always consider this an overview and supplement it with the specific instructions included by your manufacturer.
The first stage in using Infinity DNA™ Pro Banners is to unpack and inspect all components before you begin building the frame. Place the carry case on a flat, clean surface, ideally away from heavy foot traffic to minimize the risk of losing smaller parts. Open the case and carefully remove each item, laying out the pieces in an organized way so that you can see the different tube sizes and labeled segments. Most manufacturers label individual frame sections with printed stickers or laser etching, which correspond to a diagram in the assembly sheet and simplify the setup of custom fabric banners. Take a moment to verify that you have all required frame sections, base plates, support feet, connector pieces, and the printed fabric graphic. Inspect each tube for dents, bends, or visible cracks, and check the graphic for tears, pulled seams, or misaligned zippers. This inspection step ensures you do not discover a problem midway through assembly, when it could cause delays or create a safety issue. If anything appears damaged, contact your supplier before proceeding so that you can maintain consistent quality across your high-impact event signage.
Once you have confirmed that all parts are present and undamaged, you can begin assembling the frame on the floor for maximum control and safety. Lay out the tubes roughly in the shape of the final banner, positioning curved top pieces, vertical legs, and any horizontal stabilizing bars according to the layout diagram. Connect the corresponding labels, inserting the male end of each tube into the matching female end until you hear or feel the snap-button lock engage firmly. On models that feature internal bungee cords, allow the tensioned cord to guide the segments into alignment, as this system is designed to speed up assembly and keep parts from being misplaced. Building the structure while it lies flat reduces strain on the connections and makes it easier to see if any component is out of sequence. Take your time to ensure that every joint is fully seated, as secure connections are essential for durable trade show graphics that will remain stable throughout your event. If a section feels resistant, check for misalignment or debris rather than forcing the parts together. A careful approach at this stage saves time later and extends the life of your reusable exhibition display solutions.
After the frame has been fully connected on the floor, the next step is to attach the base components and move the structure into an upright position. Slide the lower ends of the vertical tube sections into the designated base plates or stabilizing feet, following the orientation shown in the manufacturer’s setup guide. Many Infinity DNA™ Pro models use hand-tightened knobs or set screws to secure the uprights, allowing you to lock the frame in place without tools while still maintaining a professional, robust connection. Ensure that each vertical sits fully into its base, as partial insertion can lead to wobbling or instability when the display is upright. For larger configurations, having a second person assist will help you maintain control as you tilt the frame from a horizontal to a vertical position. Move slowly and keep an eye on both bases, making sure that they remain flat and fully in contact with the floor surface. If your configuration includes additional stabilizing feet, position them perpendicular to the frame to create a wider footprint and support durable outdoor signage applications where extra balance is required. Proper base installation is critical not only for aesthetics, but also for the safety of your staff and visitors.
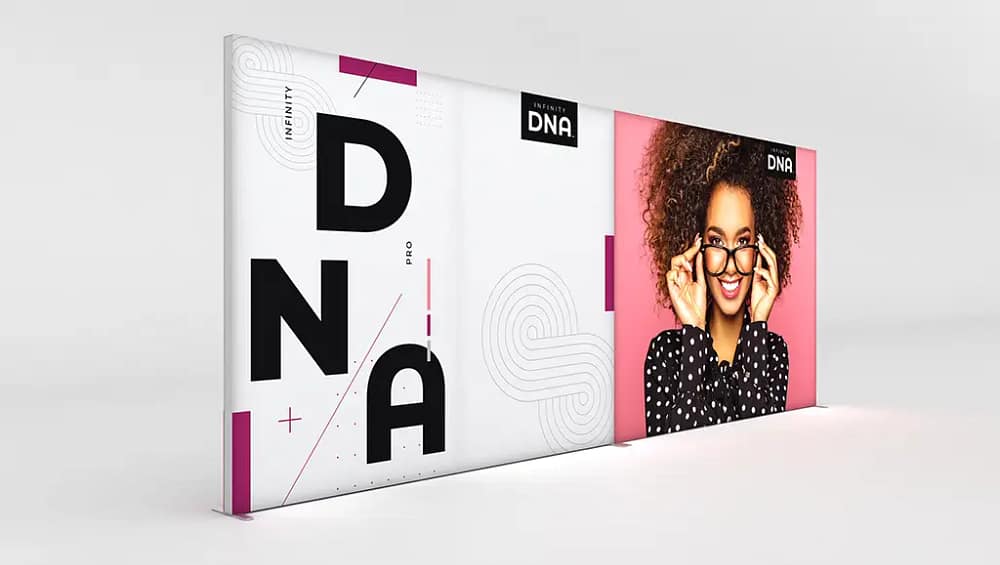
With the frame standing securely, you can now install the tension fabric graphic that gives Infinity DNA™ Pro Banners their sleek, modern appearance. Most systems use a pillowcase-style graphic that slips over the frame and closes with a zipper, creating branded tension fabric signage that appears smooth and seamless from edge to edge. Before you begin, confirm the orientation of the graphic by checking for “top,” “bottom,” “front,” or “back” labels that are usually printed on the hem or near the zipper. Start at the top of the frame and gently slide the fabric over, working your way downward while avoiding excessive pulling on seams or corners. As you move the graphic into place, pause occasionally to smooth out wrinkles and ensure that the artwork aligns correctly with the shape of the frame. Once the fabric reaches the bottom, close the zipper or Velcro closure to secure it and create even tension across the surface. A properly installed graphic will drape tightly without sagging, giving the impression of premium custom fabric graphics that have been custom-fitted to the structure. This precise fit is key to achieving a refined, professional look in any high-traffic environment.
After the graphic is in place, spend a few minutes making final adjustments and performing a thorough safety check around the entire display. Walk around the banner and visually confirm that every snap-button is fully engaged and that there are no gaps or misaligned sections in the frame. Gently pull and smooth the fabric to eliminate small wrinkles, paying special attention to corners and curved sections where tension can vary. If your banner includes integrated or optional LED lighting, install the fixtures according to the specific instructions provided, and route power cords neatly along the base to minimize tripping hazards. In venues with heavy crowds or air movement, consider adding optional weight bags, sandbags, or discreet floor tape to the base plates to increase stability. These small precautions help maintain the polished appearance expected from high-quality promotional displays while also protecting visitors from accidental bumps or tip-overs. For multi-day shows, perform a quick inspection at the start of each day to ensure that nothing has shifted overnight. Proactive maintenance reduces the risk of last-minute issues and keeps your presentation consistent from opening to close.
When the event concludes, disassembly should be handled with the same level of care as setup to protect your investment and simplify future installations. Begin by disconnecting any lighting or accessories and neatly coiling power cords to prevent tangling or damage. Next, unzip or open the fabric closure and carefully slide the graphic upward, taking care not to drag it on the floor or snag it on sharp edges. Fold the graphic with the printed side facing inward, which helps preserve the surface and maintain vivid color for future use in trade show promotional displays. After removing the fabric, lower the frame gently to the floor and detach the verticals from the base plates or stabilizing feet. Press the snap-buttons to separate the tube sections, organizing them by size or label so that they can be packed logically into the carry case. This deliberate approach supports efficient packing while helping you maintain the integrity of your lightweight portable display banners for repeated deployments.
Proper storage and handling between events are essential for extending the working life of your Infinity DNA™ Pro Banners and protecting both hardware and graphics. Store the carry case in a cool, dry location away from direct sunlight to prevent fading or warping of components over time. If your graphics become soiled during transport, follow the manufacturer’s cleaning guidelines, typically involving gentle spot cleaning with mild detergent and air drying to maintain the look of durable trade show graphics. Avoid using harsh chemicals, abrasive tools, or high heat, as these can compromise the fabric and reduce color vibrancy. When planning multiple events across different venues, schedule regular inspections of frame connectors, base plates, and hardware to confirm that everything remains in working order. With consistent care, Infinity DNA™ Pro systems provide reliable, reusable exhibition display solutions that can serve as the foundation for a wide variety of marketing campaigns. By following these assembly, safety, and maintenance best practices, you ensure that your Infinity DNA™ Pro Banners continue to deliver strong visual impact and professional presentation for years to come.


