
When you arrive at a busy exhibition venue in Australia, the last thing you want is a complicated setup slowing you down. Whether you are preparing for an event at ICC Sydney or the Melbourne Convention and Exhibition Centre, efficiency matters. That is why Backlit Expo Kits (3m) are designed to take you from packed case to fully assembled display in a smooth and stress-free process.
What Makes Backlit Expo Kits (3m) Easy to Assemble
The ease of assembly comes down to smart engineering. Every component is built with simplicity and portability in mind.
Here is what you can expect:
- Lightweight aluminium frame sections
- Pre-measured LED lighting components
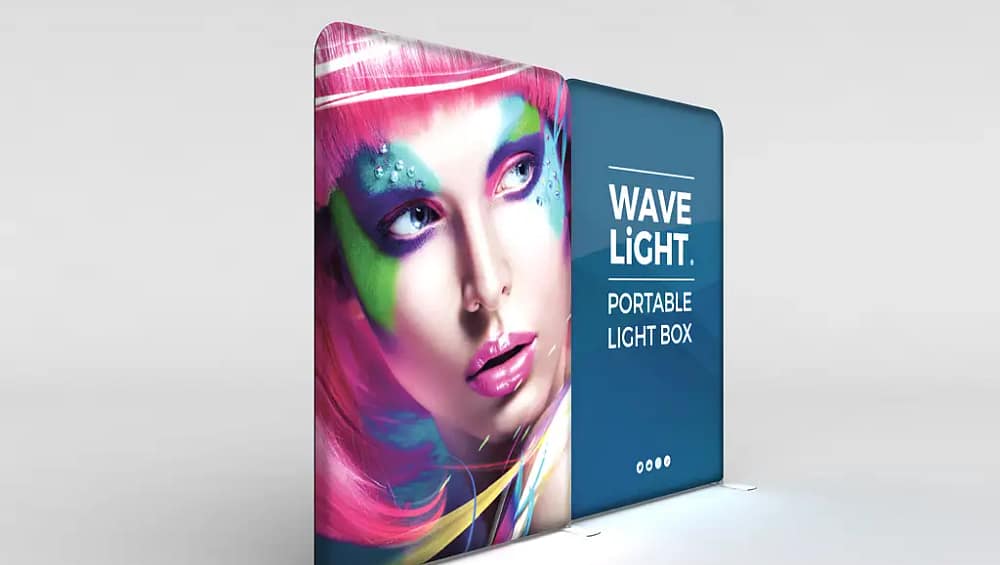
- Stretch tension fabric graphics
- Tool-free connectors and fittings
- Compact carry cases for transport
All these elements work together to create a system that is both user-friendly and highly effective on the show floor.
Step 1: Unpack and Organise Your Kit
Start by opening your carry case and laying out all components in your booth space. This gives you a clear overview of everything included.
- Separate frame pieces, lights, and graphics
- Check that all parts are present
- Place items in order of assembly
This initial step ensures a smooth workflow and prevents delays during setup.
Step 2: Build the Frame from the Ground Up
Next, assemble the aluminium frame. The modular design allows each section to connect easily.
- Match labelled tubes or connectors
- Push-fit pieces together until secure
- Form the full 3m structure
The frame is lightweight yet sturdy, making it easy to handle even if you are working alone.
Step 3: Install the LED Backlighting System
Once the frame is ready, it is time to add the lighting that gives your display its standout appeal.
- Attach LED strips along designated areas
- Connect cables according to the layout
- Ensure even distribution for consistent brightness
The integrated lighting system is designed for quick installation, so you do not need any technical experience.
Step 4: Apply the Fabric Graphics
This is where your booth truly comes to life. The tension fabric graphics are designed for fast and seamless application.
- Align the fabric edges with the frame
- Secure using silicone edging or zip closures
- Smooth out the surface for a clean finish
The backlit feature enhances your visuals, making colours appear brighter and more engaging to visitors.
Step 5: Power Up Your Display
With everything in place, connect your display to a power source.
- Plug into the venue’s electrical outlet
- Switch on the LED lighting
- Check for even illumination across the graphic
This step transforms your setup into a professional, glowing display ready for the event.
Step 6: Make Final Adjustments
Before the event begins, take a moment to refine your setup.
- Ensure the frame is aligned properly
- Adjust the fabric for a wrinkle-free look
- Organise cables neatly for safety
These finishing touches help create a polished and professional presentation.
Built for Australian Trade Show Efficiency
Exhibitors across Australia need display systems that are both portable and quick to assemble. Backlit Expo Kits (3m) are designed to meet these demands.
They are perfect for:
- Fast-paced bump-in schedules
- Travelling between cities like Sydney, Melbourne, and Brisbane
- Reducing reliance on installation teams
- Reusing displays for multiple events
This flexibility makes them a valuable asset for any exhibitor.
Why Backlit Expo Kits (3m) Stand Out
Beyond ease of assembly, these kits offer a range of benefits that enhance your exhibition experience.
- Eye-catching LED illumination that attracts attention
- Reusable frames for cost efficiency
- Compact storage for easy transport
- Professional finish that elevates your brand
You get a display that is both practical and visually impactful.
Conclusion
Backlit Expo Kits (3m) make it easy to go from packed equipment to a fully functional display in no time. With their tool-free design, lightweight materials, and intuitive assembly process, you can set up your booth quickly and confidently.


