
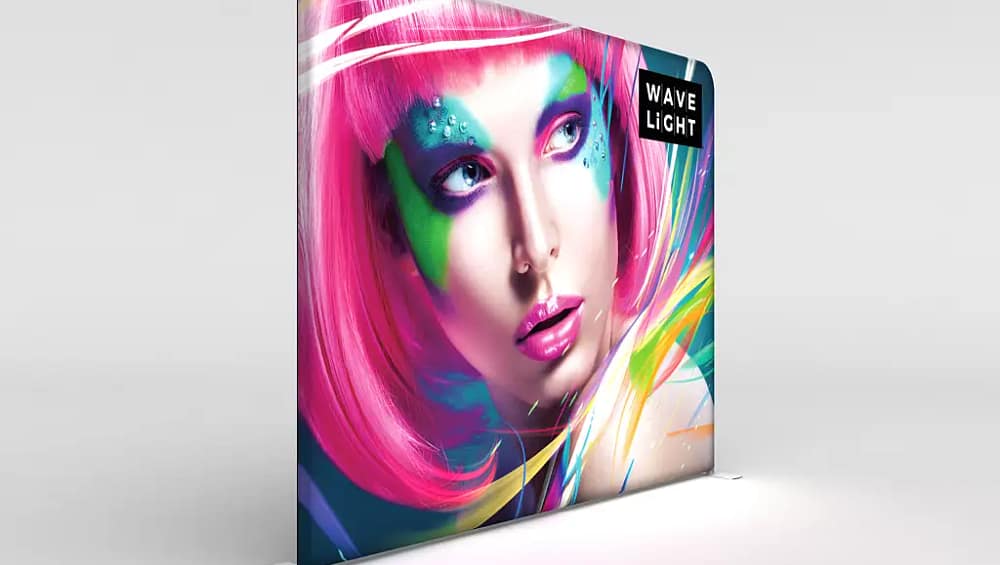
When you’re preparing for an exhibition in Australia, every minute during setup counts. Whether you’re exhibiting at ICC Sydney, Melbourne Convention and Exhibition Centre, or Brisbane Convention & Exhibition Centre, having a display that is quick and easy to install can make your entire experience smoother. That’s why many exhibitors rely on Backlit Banners (3m). These displays are designed to deliver strong visual impact while keeping setup simple and efficient.
Why Choose Backlit Banners (3m) for Easy Setup
Before diving into the setup process, it’s worth understanding why Backlit Banners (3m) are such a popular choice among exhibitors.
They are built for convenience, offering:
- Tool-free assembly
- Lightweight and modular components
- Integrated LED lighting for instant impact
- Reusable frames for multiple events
This combination allows you to achieve a polished and professional display without the complexity of traditional exhibition stands.
What’s Included in Your Display Kit
To ensure a smooth setup, familiarise yourself with the components included in your Backlit Banners (3m) kit.
Most systems include:
- Aluminium frame sections with connectors
- LED lighting strips or pre-installed lighting system
- Custom printed tension fabric graphic
- Power cables and adapters
- Carry bags for transport
Having everything organised before you begin will help you avoid delays during installation.
Step 1: Assemble the Aluminium Frame
Start by laying out all the frame components on a clean, flat surface. The frame pieces are typically labelled or numbered to guide you through the assembly.
Connect each section using the push-fit system until the full rectangular frame is complete. The lightweight aluminium structure makes this process quick and manageable, even for one or two people.
Make sure all joints are securely connected to ensure stability once the display is fully assembled.
Step 2: Install the LED Lighting System
Next, focus on the lighting. Many Backlit Banners (3m) come with built-in LED strips, which makes this step even easier.
If your system requires manual installation:
- Attach the LED strips along the inner frame
- Connect the cables according to the provided layout
- Ensure all connections are secure
Proper lighting placement is essential for achieving even brightness across your graphic.
Step 3: Attach the Tension Fabric Graphic
Once the frame and lighting are ready, it’s time to install the graphic.
Take your fabric print and align it with the frame. The edges of the fabric usually feature silicone beading that slides into the frame channels.
Work your way around the frame, gently pulling the fabric tight as you go. This creates a smooth, wrinkle-free surface that enhances the overall appearance of your display.
Step 4: Connect Power and Test the Display
With everything in place, connect your display to a power source. Switch on the LED lighting and check the entire banner.
Look for:
- Even illumination across the graphic
- No loose connections
- Proper alignment of the fabric
This final check ensures your display is ready to impress visitors as soon as the exhibition opens.
Tips for a Faster and Smoother Setup
If you want to make the process even more efficient, consider these practical tips:
- Practice assembling your display before the event
- Assign setup roles to team members
- Keep cables organised to avoid confusion
- Pack components in order of use
These small steps can save valuable time and help you avoid unnecessary stress during busy setup periods.
Ideal for Exhibitors on the Move
Backlit Banners (3m) are not only easy to assemble but also highly portable. This makes them perfect for businesses that participate in multiple exhibitions throughout the year.
You’ll benefit from:
- Compact storage in carry cases
- Easy transport between venues
- Reduced logistics and shipping costs
- Quick reassembly at different events
This flexibility is especially useful for companies attending exhibitions across major Australian cities.
Create a Professional Display with Minimal Effort
One of the standout advantages of Backlit Banners (3m) is their ability to deliver a high-end look without complicated installation. The LED backlighting enhances colours and ensures your message stands out, even in crowded exhibition halls.
This allows you to:
- Attract more attention from attendees
- Strengthen your brand presence
- Present your products or services clearly
- Maintain a consistent, professional image
All of this can be achieved with a simple and efficient setup process.
Get Started with a Reliable Exhibition Solution
If you’re looking for a display that combines speed, convenience, and visual impact, Backlit Banners (3m) are an excellent choice for Australian exhibitions.
With the right preparation and a system designed for ease of use, you can transform your exhibition setup into a smooth and efficient experience while making a lasting impression on your audience.


