
When you arrive at a busy exhibition venue like ICC Sydney or Brisbane Convention and Exhibition Centre, the last thing you want is a complicated setup process. Time is limited, bump-in schedules are strict, and every minute counts. That is why portable Towers & Podiums are designed for quick, intuitive assembly without compromising on stability or professional presentation.
Why Portable Assembly Matters at Australian Events
Step 1: Unpack and Organise All Components
Start by unpacking all components from their carry case or shipping carton. Lay everything out on a clean surface to ensure no pieces are missing.
You will typically find:
-
Aluminium frame tubing sections
-
Base supports or stabilising feet
-
Internal connectors
-
Tension fabric graphic
-
Zipper or finishing components
Most modern Towers & Podiums systems use labelled or numbered parts, making identification straightforward.
Taking a few minutes to organise your pieces before assembly will save time later.
Step 2: Connect the Aluminium Frame Structure
The frame is the foundation of your display. Portable Towers & Podiums use lightweight aluminium tubing that connects through push-fit or snap-lock systems.
To assemble:
-
Match the corresponding tube sections based on shape and size.
-
Insert each section firmly into its connector until it clicks or locks into place.
-
Continue building upward until the full structure is complete.
Because the tubing is precision-engineered, pieces fit securely without forcing or twisting.
Within minutes, you will see the display take shape.
Step 3: Secure the Base for Stability
Once the vertical structure is assembled, attach the base supports.
Stability is critical in high-traffic Australian exhibition halls. Properly fitted base components help prevent movement or imbalance throughout the event.
Ensure that:
-
All base feet are evenly aligned
-
The structure stands level on the floor
-
Connections are firmly locked
This step ensures your display remains stable even during peak visitor hours.
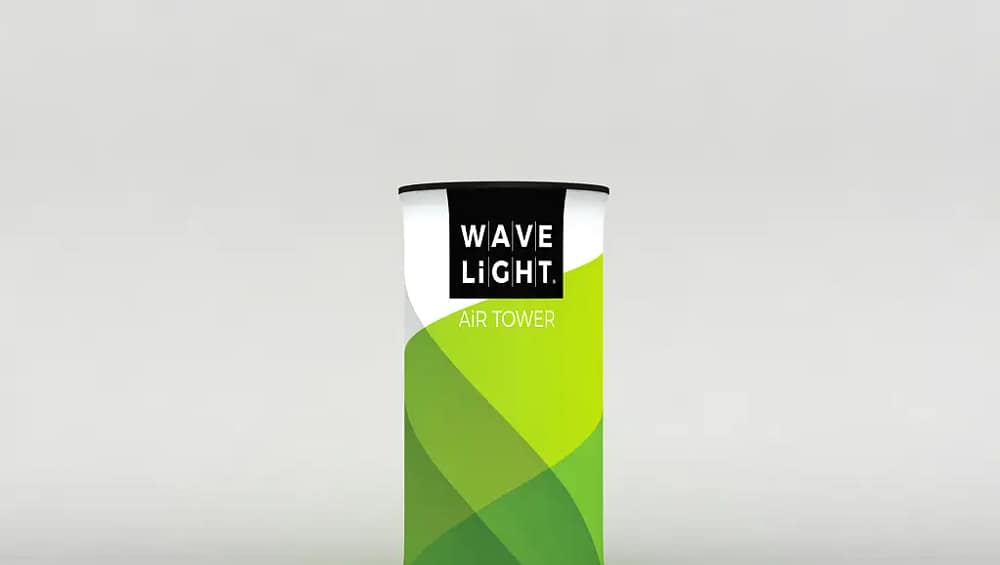
Step 4: Slide the Fabric Graphic Over the Frame
One of the standout features of Towers & Podiums is the seamless tension fabric graphic system.
After assembling the frame:
-
Carefully slide the printed fabric graphic over the structure like a sleeve.
-
Align the bottom and top edges evenly.
-
Check that branding is positioned correctly on all visible sides.
The stretch fabric is designed to fit snugly around the frame without sagging.
Step 5: Zip and Tension the Graphic Into Place
With the graphic aligned, locate the zipper or tension closure, typically positioned discreetly at the back or base of the display.
Zip the graphic closed slowly and evenly. As you do this, the fabric tightens across the frame, creating:
-
A smooth surface
-
Wrinkle-resistant finish
-
Clean, professional branding
This tensioned fit eliminates visible creases and provides a premium appearance suitable for corporate exhibitions and high-profile events.
Step 6: Final Inspection and Positioning
Before stepping back to admire your completed display, conduct a quick inspection.
Check that:
-
All frame connections are secure
-
The fabric is evenly tensioned
-
The base is stable
-
Graphics are aligned and facing the correct direction
Once confirmed, position your Towers & Podiums in the designated booth space.
You can angle towers to create a welcoming entry point or place podiums strategically for product demonstrations, registrations, or customer engagement areas.
How Long Does Assembly Take?
For most portable Towers & Podiums systems, assembly typically takes between 10 to 20 minutes depending on size and configuration.
Because no complex tools are required, one or two team members can handle the setup efficiently. This makes them ideal for businesses travelling interstate or managing multiple events across Australia.
Easy Dismantling After the Event
Why Assembly Simplicity Enhances Your Exhibition Experience
Portable Towers & Podiums are designed with exhibitors in mind. The streamlined assembly process reduces stress, saves time, and ensures your display looks polished every time.
When you combine durable aluminium frames with easy-fit tension fabric graphics, you get a professional system that works as hard as you do on the exhibition floor.

