
Updated: 27 Aug 2025
Introduction
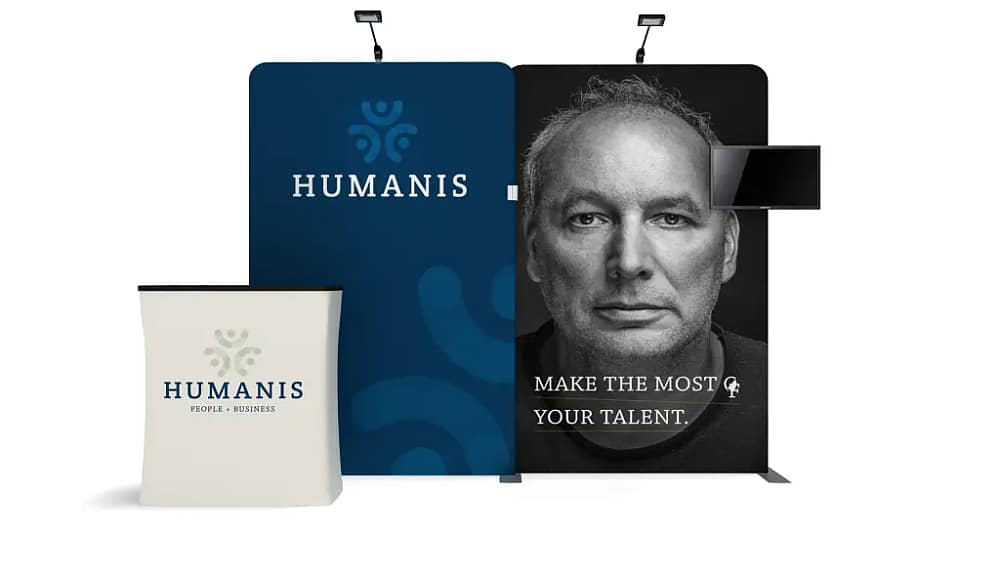
Great booths aren’t just pretty — they guide visitors through a sequence of experiences. WaveLine® Media Displays help you carve a booth into branded zones that make navigation intuitive and conversations more productive. By dividing space with straight and curved walls, you create focus areas for demo, consult, and conversion.
Define Your Zones
Start with a large rear wall to signal the brand. Add a curved wing to frame a product demo. Use a shorter side wall or tower to create a semi-private consultation area. Clear zoning prevents bottlenecks, keeps noise manageable, and helps staff triage traffic more effectively.
Message Matching
Print each sleeve with messaging that suits the zone: attention-grabbing headlines at the front, proof points and specs in the demo area, and case studies or pricing in the consult zone.
Wayfinding Cues
Use colour blocking and iconography to signal what happens where. Visitors should understand the flow from five metres away without asking.
Optimise Dwell and Throughput
Zones allow focused interactions without gridlock. While a demo runs, a second team can qualify new arrivals at a counter or capture leads at a kiosk. The result: higher throughput and better-quality conversations.
Reconfigure from Show to Show
Because WaveLine® frames are modular and tool-free, you can rearrange zone sizes and positions for each venue, all while reusing the same hardware.
Plan Your Branded Zones
Explore compatible walls, towers, counters, and kiosks on the WaveLine® Media Displays page and design a booth that guides visitors effortlessly.


